Optimizing BIOS Settings for My New AMD RX 9070 XT GPU Upgrade
Maximizing performance from my new RX 9070 XT with proper BIOS configuration

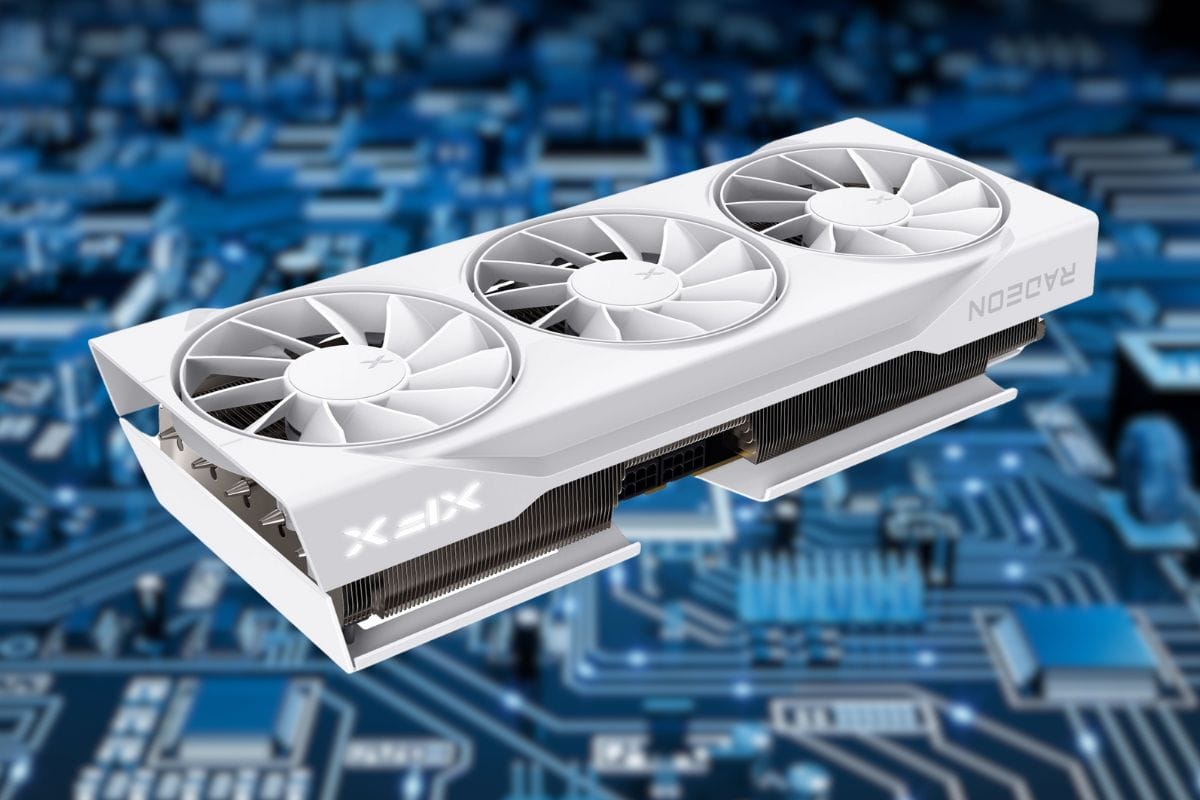
I recently purchased a XFX AMD Radeon RX 9070 XT Swift 16GB upgrading from an old NVIDIA GTX 1660 Super card with 6GB. The card is a night and day difference, my new card isn't the highest spec card but when compared to my previous card, it's light years better. One thing I always struggled with is the memory on the old card, it never had enough for modern day graphics. I wanted to make sure my bios for my motherboard was configured correctly and found this website hone.gg that explains a lot about how to configure it.
My specs:
- Case: NZTX H5 Flow (2022)
- CPU: AMD Ryzen 5 5600X (6 Cores)
- Motherboard: ASUS ROG STRIX B550-F Gaming
- Memory: DDR4 32GB (2x16 sticks)
- GPU: XFX AMD Radeon RX 9070 XT Swift 16GB GDDR6 PCIe 5.0
- PSU: MSI MAG A850GL PCIE5 850W 80 Plus Gold ATX 3.1
Important: I also upgraded my PSU from 650W to 850W for this GPU. The RX 9070 XT draws significantly more power (304W TDP) than the old GTX 1660 Super (125W), so a quality 750-850W PSU is essential. I also had to use two separate PCIE cables for the power. Some folks say its ok to use 1 with 2 connectors on it but I had a second one that came with my MSI MAG PSU so I went that route. Better to overdo it than not provide enough power to the video card.
Benchmark Before and After
It's a good idea to run some benchmark tests before and after upgrades and before and after settings changes to make sure that what you changed helped. I'm starting with 3DMark Time Spy, then trying 3DMark Solar Bay Extreme.


Digging into a few others out there you have Unigine Superposition and FurMark but I've heard that it can really mess things up if you run it too long since it's more of a stress tester. FurMark - Extreme stress test. Only run for 5-10 minutes maximum. This is intentionally brutal on GPUs and can cause overheating. Use for PSU stability testing only, not regular benchmarking.
3 other tools to run are for monitoring, both AMD and Nvidia have apps that can do on screen displays as well. AMD Adrenalin Software is what I'm currently using.
- MSI Afterburner (Free)
- HWiNFO64 (Free)
- GPU-Z (Free)
Update Bios
Before I do anything I updated the bios to the latest version. Old stuff doesn't know about new stuff so I updated the bios to make sure things were running with the latest and greatest.
For my ROG STRIX B5550-F Gaming mobo I go to this site to download the bios. Search the name of your motherboard and bios update to find what website has it or use the GPU-Z app mentioned above to find if you're behind on updates and where to download them.
XMP/EXPO Profile
This is the biggest change you can make to improve performance - enable your RAM's XMP/EXPO profile. The setting name depends on your platform:
- XMP - Intel platforms
- EXPO - AMD Ryzen 7000 series with DDR5
- DOCP/A-XMP - AMD Ryzen 5000 series with DDR4 (that's me!)
For my system, I looked for DOCP or A-XMP in the BIOS under the AI Tweaker or Extreme Tweaker tab. Enable it to run your RAM at its rated speed instead of the default 2133 MHz.
Resizable BAR or AMD Smart Access Memory
- Press F7 to switch to Advanced Mode (if in EZ Mode)
- Go to Advanced tab at the top
- Look for AMD CBS or PCIe Subsystem Settings
Find and enable these settings:
- Above 4G Decoding - Set to Enabled
For mine: Advanced → PCI Subsystem Settings → Above 4G Decoding → Enabled - Re-Size BAR Support - Set to Enabled (this is SAM on AMD)
Advanced → PCI Subsystem Settings → Re-Size BAR → Enabled - Disable CSM (Compatibility Support Module)
Path: Boot → CSM → Disabled - Press F10 to Save and Exit
Verify it worked: After rebooting, open GPU-Z and check the 'Resizable BAR' line - it should say 'Enabled' or show 16GB.
Platform Specific settings
I'm running AMD and found that these can be enabled
AMD-Specific Performance Settings (Optional - for advanced users)
These settings can squeeze more performance from my Ryzen 5 5600X that I may look into later:
- PBO (Precision Boost Overdrive) - Allows CPU to boost higher. Requires good cooling - stock coolers aren't sufficient
- Curve Optimizer - Undervolt individual cores for efficiency. Start conservatively at -10 and test stability
- Core Performance Boost - Enable for automatic frequency scaling
Note: Test stability after each change with Cinebench or Prime95.
Results
After enabling DOCP and Smart Access Memory, I saw a 5-8% FPS improvement in most games. Combined with the massive upgrade from the GTX 1660 Super, games now run butter-smooth at 1440p with maxed textures - exactly what I was hoping for with the 16GB of VRAM.
Total investment: ~$750 (GPU + PSU upgrade) Performance gain: Night and day difference
Bottom line: If you're upgrading your GPU, don't skip the BIOS optimization - it's free performance!
I saved money buying my RX 9070 XT on Facebook Marketplace ($630 vs $750+ retail), but you need to be smart about it:
Essential Safety Steps:
- Meet in public places (police stations are best, I went with a Starbucks)
- Verify serial numbers match (box vs. card)
- Check for physical damage before paying
- Get a written receipt with serial number
- Test the card the same day you buy it
Red Flags - Walk Away If:
- Seller won't let you inspect thoroughly
- Price is too good to be true
- Serial numbers don't match
- Card shows signs of use when advertised as new
Ultimately in my case the guy was a student, bought the video card and found that its about 12 inches being a triple fan card it didn't fit his smaller case for his desk. My NZTX H5 case has plenty of room