
For the last few years I've been running Unraid on my Dell server for all of my media storage. There is a lot in there, immich photos, tv movie "linux isos" and a lot of docker containers for the various acquisition and management tools needed to move all the data around on the server and organize it. All of which has been Docker based with no VMs going on. I started to look into Proxmox for the desktop "server" that I have Home Assistant running on. I had HA running on HAOS and as Home Assistant writes about it:
Installing Proxmox VE
This isn't a tutorial on how to install Proxmox VE, there are other places to find such things Home Assistant: Proxmox VE Quick Start Guide is a great place to start. I'm just going to give you an overview of what I did mainly so I can read this again in a few months when I may end up redoing everything, who knows!
So I wanted to try my hand at Proxmox VE and moving over Home Assistant to this platform didn't look to be too hard. I started off by doing a fresh backup of my HAOS install and then saving the encryption key by downloading the emergency kit and storing it somewhere safe. Home Assistant backups are encrypted so you want to make sure you have that key somewhere safe. After that I downloaded the ISO for Proxmox VE 9.2.6 and put it on a usb drive. My method of choice for this is putting Ventoy on a usb with a bunch of isos on it and storing it on top of my server in case I ever need to repair it I at least have a place to start. I put the drive in and went into the BIOS to make sure all of the virtualization options ( Intel VT-d or AMD IOMMU ) were enabled and then booted the usb and started installing Proxmox VE.
Learning Proxmox
This being my first time in Proxmox VE, but not my first time in a hypervisor, I knew that I was going to have to do a lot of reading and learning. I started out by watching WunderTech's Proxmox VE video to get myself up to speed. One takeaway I had was getting my backups and snapshots in order and setting up a NFS share on my Unraid server so Proxmox VE could see it.
I then watched one of my favorite creators on YouTube, Techno Tim and his video on Proxmox VE as well.
One thing I've learned is there are 2 camps when it comes to Proxmox, the folks that use it in homelab and set up the Proxmox Post Install Script and then the enterprise folks that just pay the fee to have the support they need. Me in this instance I'm the former so we loaded up SSH and ran the script and pressed Y a bunch of times to get us to the end.
Installing Home Assistant
The write up on Derek's blog is quite helpful in using the helper scripts to get Home Assistant up and running. Once I was done with that I restored from backup and had a working Proxmox VE with Home Assistant on it.
Takeaways from this experience
On the surface Proxmox VE is a great platform and simple to set up. I know it's quite deep when you get into the weeds. I'm going to next be exploring Home Assistant Backup vs Proxmox Backup reading this post on just that How To Backup Home Assistant In Proxmox so I can start using Snapshots and Backups and what the difference is between the two in Proxmox VE.
Bonus Step - Quartermaster
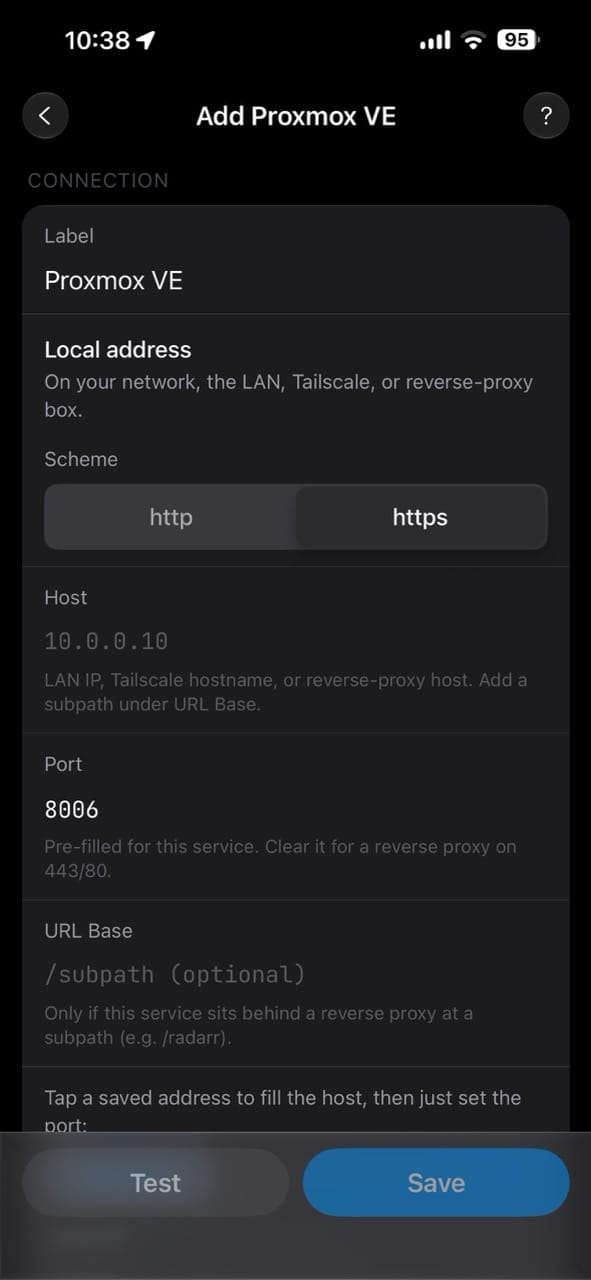
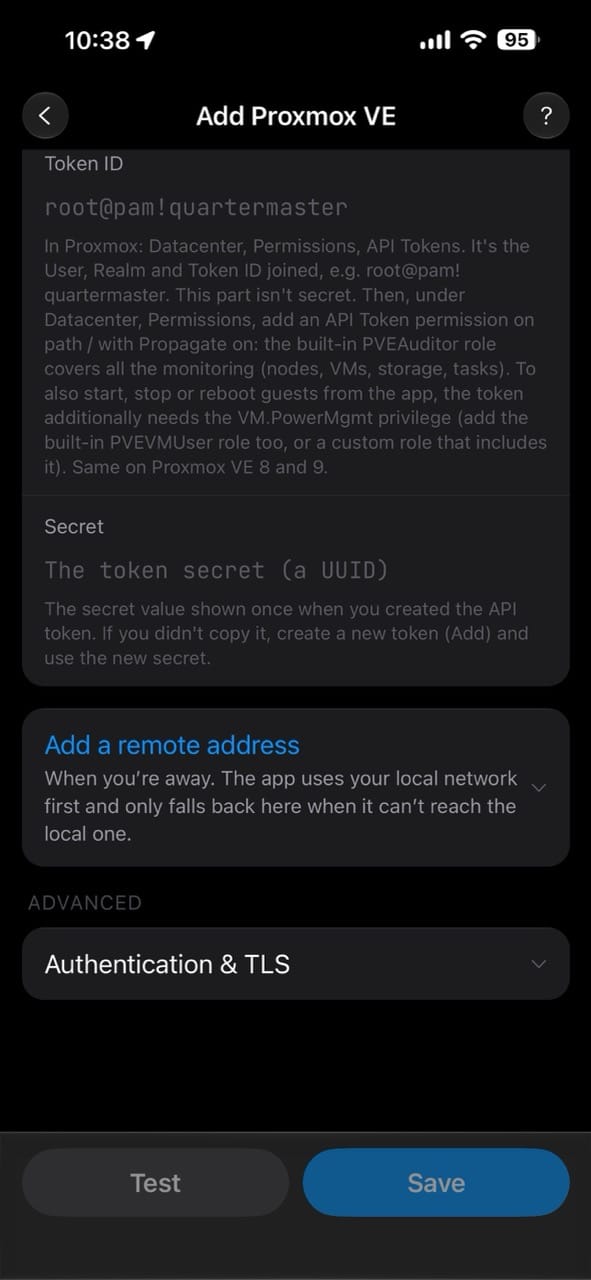
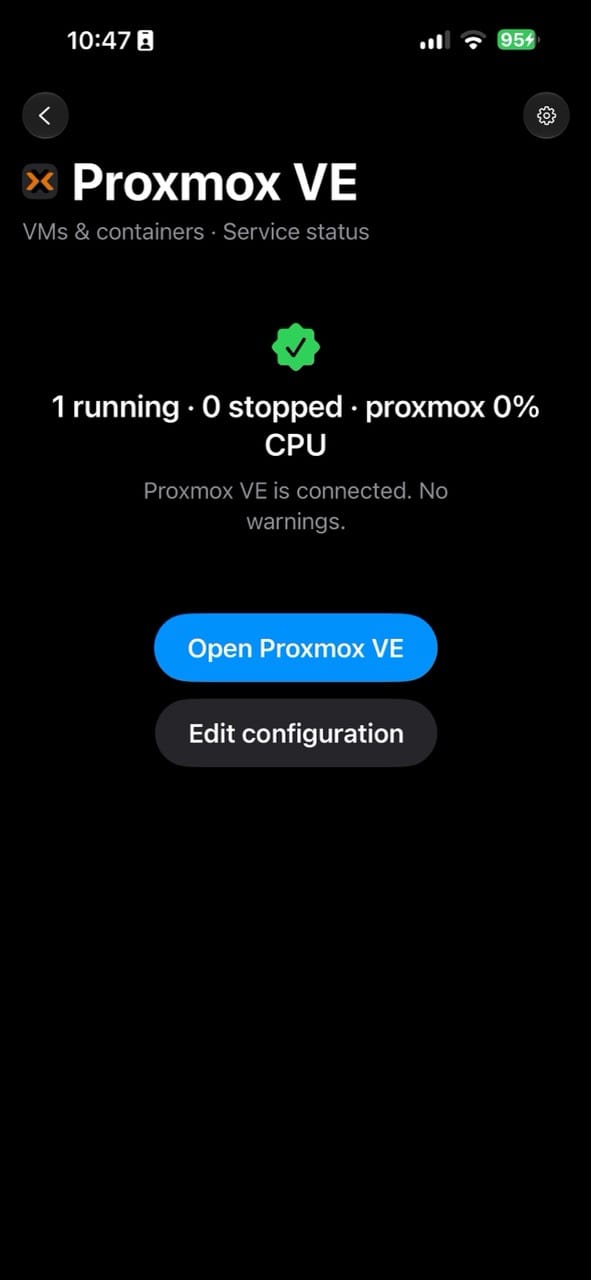
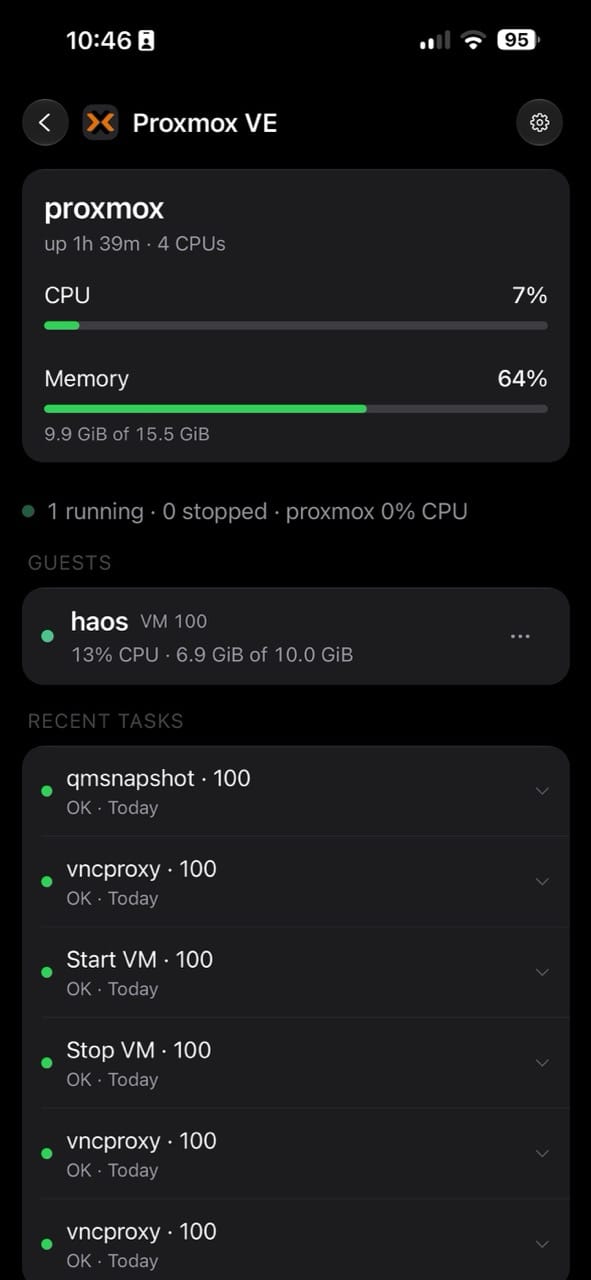
One thing I'm really looking forward to is messing around with the recent Quartermaster integration with Proxmox VE which is more and more becoming an amazing Homelab remote control in your pocket. Here are the command line steps I did to get Quartermaster set up in Proxmox VE.
- Created the API token (secret is only ever shown in this output)
pveum user token add root@pam quartermaster --comment 'Quartermaster client' - Granted PVEAuditor + PVEVMUser on path / with propagate enabled
pveum acl modify / --tokens 'root@pam!quartermaster' --roles PVEAuditor,PVEVMUser --propagate 1 - Verified the ACL entries
pveum acl list | grep quartermaster
If you ever need to redo this (e.g. lost the secret), you'd delete and recreate the token:
pveum user token remove root@pam quartermaster
pveum user token add root@pam quartermaster --comment 'Quartermaster client'
Here is what it looks like in Quartermaster when it's all done.
What are you doing with Proxmox?
In the comments, what are you doing with Proxmox? What should I do next?
Remember, you can leave a comment just by signing up for free for my blog, not obligated to pay for anything.


Comments