

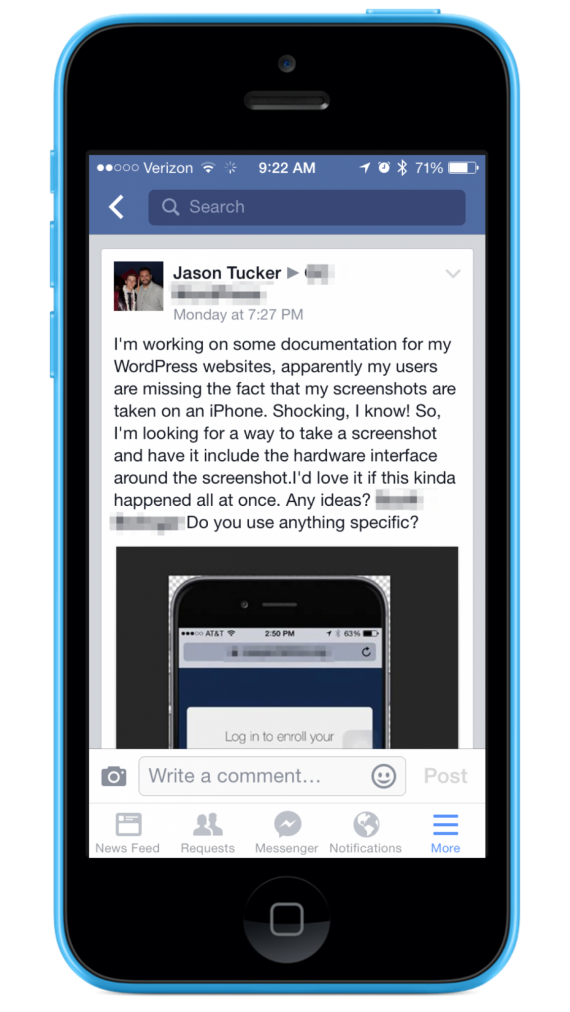
So I’ve been working on a documentation project at work and needed a way to make fast screenshots that also indicate that the screenshot they are looking at is coming from and iPhone or iPad. The documentation site I’m putting these on has a white background and most of my screenshots have a white background too, my message was getting lost to the users and I needed a better way.
Searching for the solution
 I looked all over the place, even posted in a few of the Facebook groups I frequent asking this very question. People suggested that I use Photoshop, so I found a few pre built PSDs that I could have used to make this happen. iOS 8 GUI PSD (iPhone 6) but the workflow to making that happen was a bit clunky (get screenshot on computer, open Photoshop (or run an action), mess with the layers, save the file out) . I also wanted to be able to take a live screenshot on my phone and send it to my computer to make changes. I have AirDrop on my phone and on my mac so I could send them that way. I could also use PushBullet to send the files with a few less steps.
I also thought about using Xcode’s simulator, there is a good and bad about using this. The good is you can do great screenshots without having the file leave your computer, the bad is that Mail (one of the apps I was documenting) isn’t available for the iPhone Simulator so that right there cut it out. Lastly the Settings screen on the simulator is missing a ton of buttons due to the virtual device not having all the same feature a real iPhone has. Next…
As you can see, I want the least amount of steps for this since doing the same task over and over again gets tedious. I’m a busy IT guy here, I want to get the data in and out as fast as possible.
After a few different tries at this I landed on using something called iScreenShot, It’s amazing and here is why.
Using the right tool for the job
While at my local OC WordPress meetup (the same meetup that I posted in their Facebook group above asking for help) I found the solution I needed listed in the Mac App Store. Their 1 screenshot in the app store pretty much explains it all:
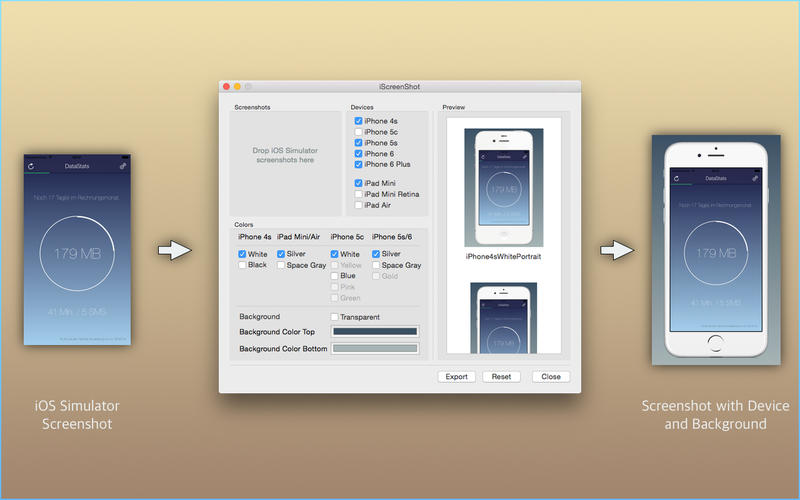
Take screenshot on device > Get screenshot to Mac > Drag screenshot to the drop zone > Select what phone layouts you want wrapped around your screenshot > Hit export > select a folder for all screenshots saved to > Profit.
How to use iScreenShot
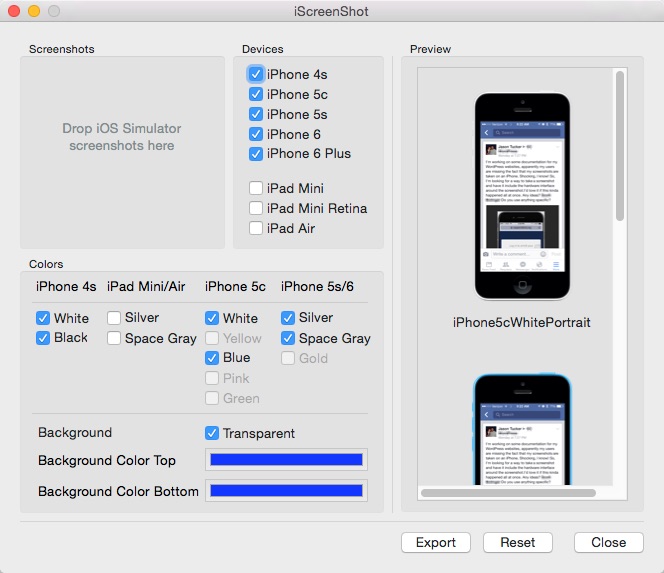
iScreenShot is one of those apps that has a single window pane and just works. As I described above, dropping the png file(s) from your phone produces into the dropzone on the left will let it know what file(s) you want wrapped. Did you notice I said file(s), yeah. You can take say, 200 screenshots and put them in this app and then press export and it will export 200 wrapped screenshots. It gets better thought, by selecting which devices you want it will output a file for EACH COLOR of the device you want. The one thing that this won’t do unfortunately is being able to output a iPhone 6 Plus or iPhone 6 from an iPhone 5c or iPhone 5s screenshot. This is a bit of a shortcoming but I can understand since it can’t magically create areas of the screenshot that don’t exist.
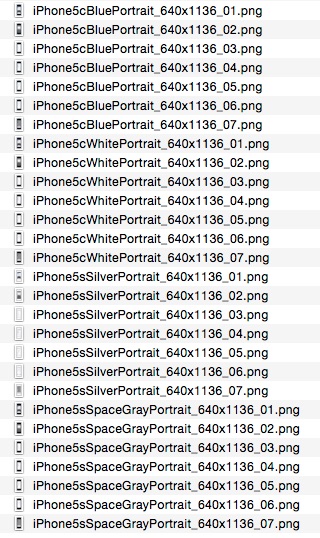
With the section above using an iPhone 5s as the source screenshot I ended up with these files:
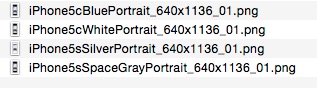
Since the iPhone 5c and iPhone 5s have the same screen size it exported for only those. If I were to drag 6 different screenshots into the dropzone I ended up with 24 files when I clicked Export.
How do you get your screenshots on your Mac?
So I have a few ways to go about this:
- Open the picture in Photos on the iPhone and then press the share button and select AirDrop, open a finder window on my mac, go to AirDrop on the left and press my name & face on my iPhone to send the selected photo(s).
- Install PushBullet on my iPhone and on my computer, pair them and then using the share button in Photos send the pictures to my Mac and they show up on the mac with no extra clicking.
- Use WorkFlow on the iPhone, then install this workflow AirDrop & Delete screenshot by opening the link on my phone and pressing install. Once installed you can run the Wordflow and it will take the most recent screenshot you took and auto press the share button and allow you to pick which AirDrop compatible device is nearby. open a finder window on my mac, go to AirDrop on the left and press my name & face on my iPhone to send the selected photo. After all that it will prompt you to delete the file so you won’t forget.
- Send the image via Messages to my own phone number and use Messages on my mac to get a copy of the screenshot and drag it into iScreenshot.
- Use Dropbox app on the iPhone and upload the image to there, download the image from Dropbox on my Mac.
There is a bunch of ways to do this and for me it just depends on how many screenshots I’d doing and what I’m in the mood for 🙂
Where do I get iScreenShot?
You can purchase iScreenShot from the Mac App Store, at the time of writing it was $0.99 US. In the comments below let me know how this works for you, iScreenShot is amazing and I hope I was able to provide you with a few options to get this type of work done.
Bonus Tip!
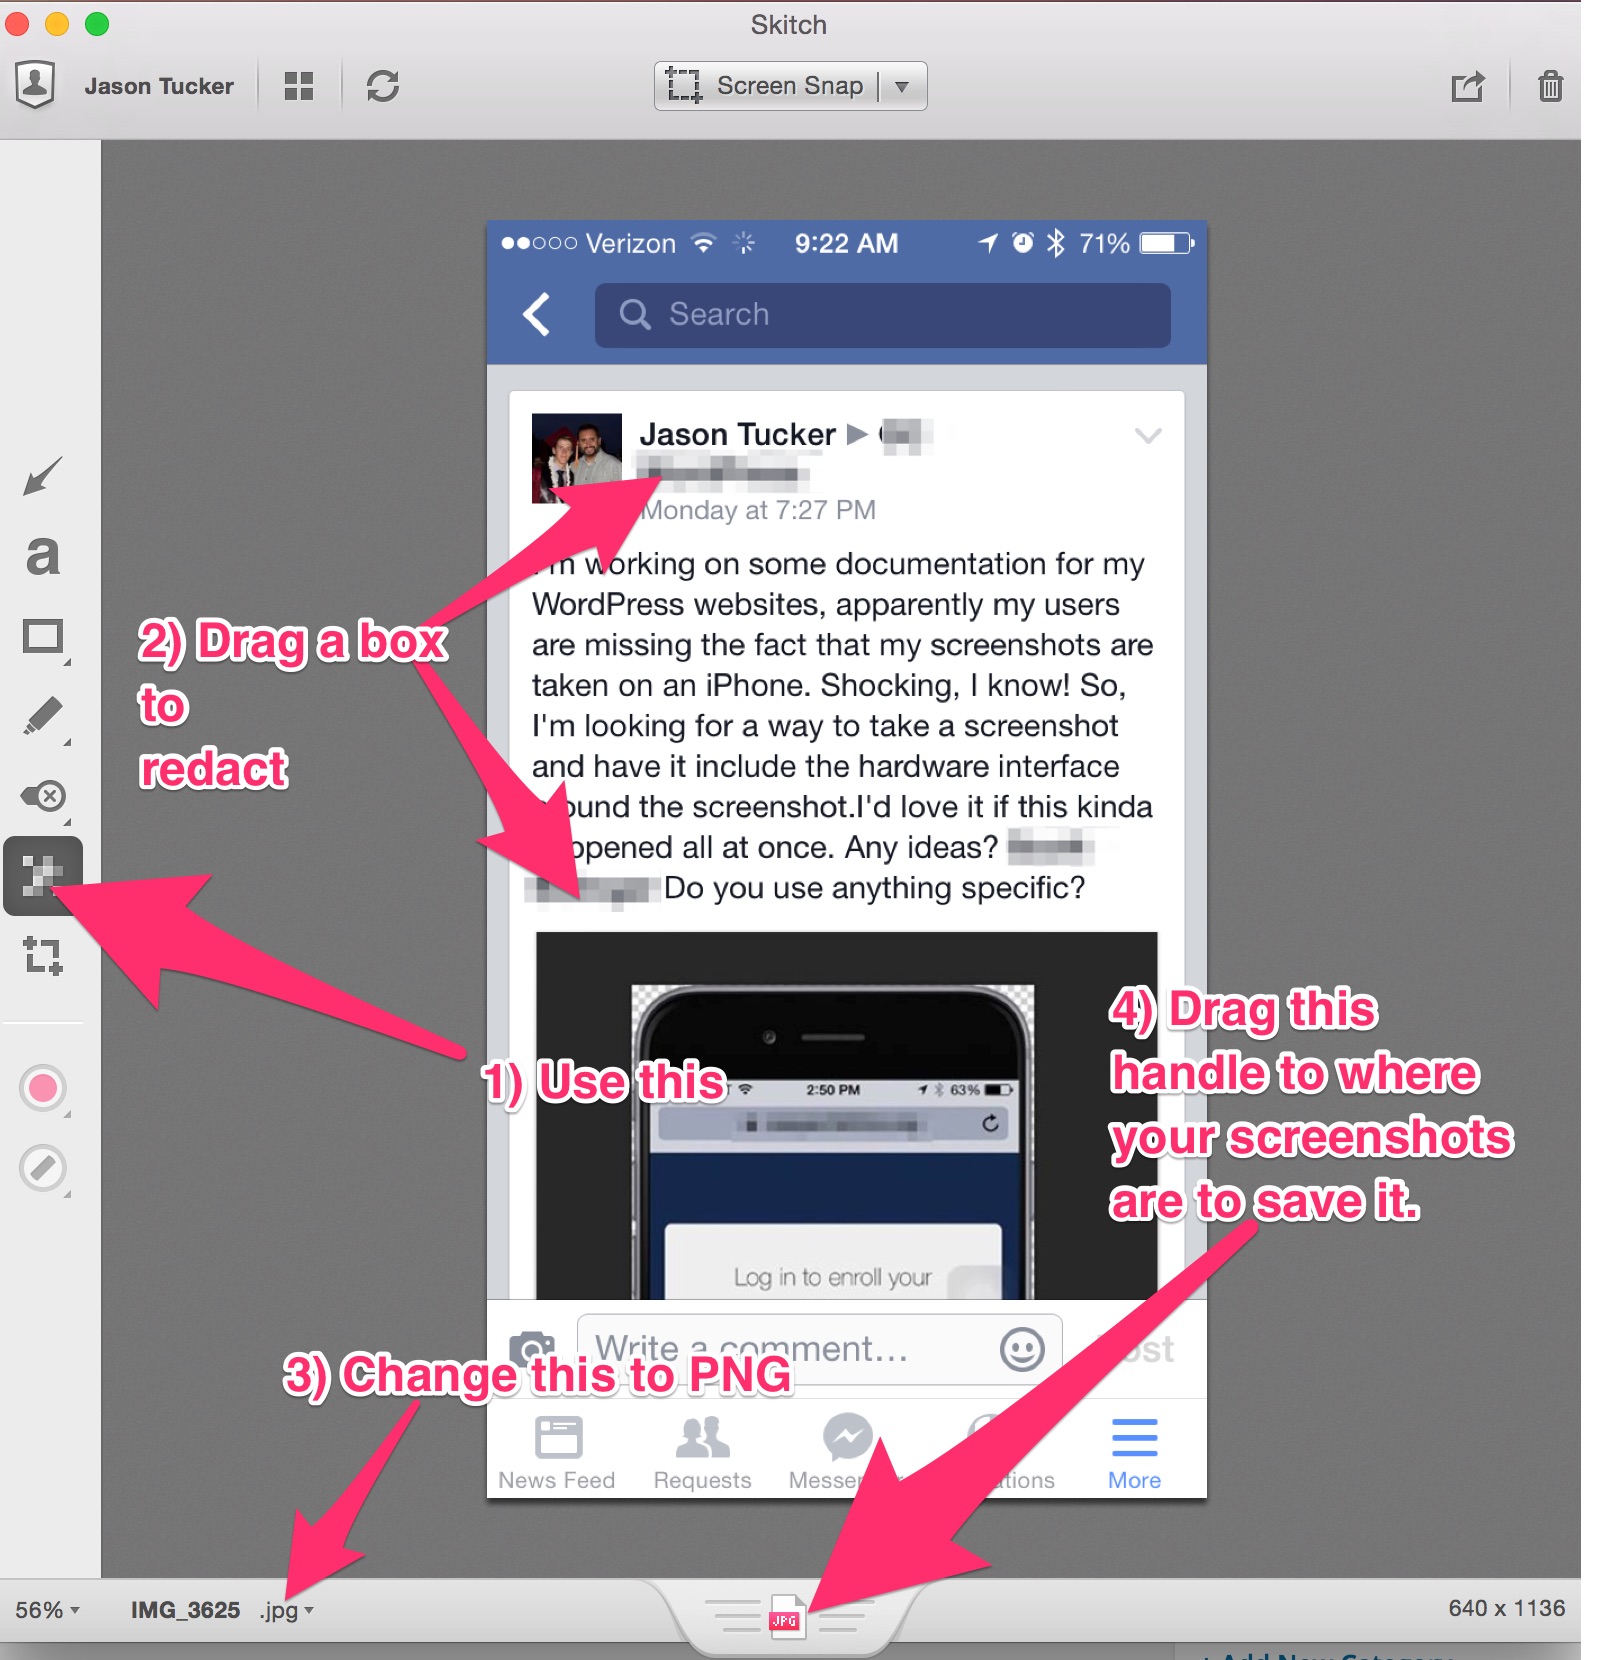
If you are in need of redacting some of the info in the screenshots (like I did in the blue iPhone screenshot up top, you can drag the png file to Skitch (a great app made by the folks at Evernote) and use the redaction tool or even draw arrows and other things. After you manipulate the file using Skitch change the file format picker to PNG and then drag the handle in the bottom middle to the folder your screenshots are in. Now you can use that file as your source file for your screenshot in iScreenShot.


Comments